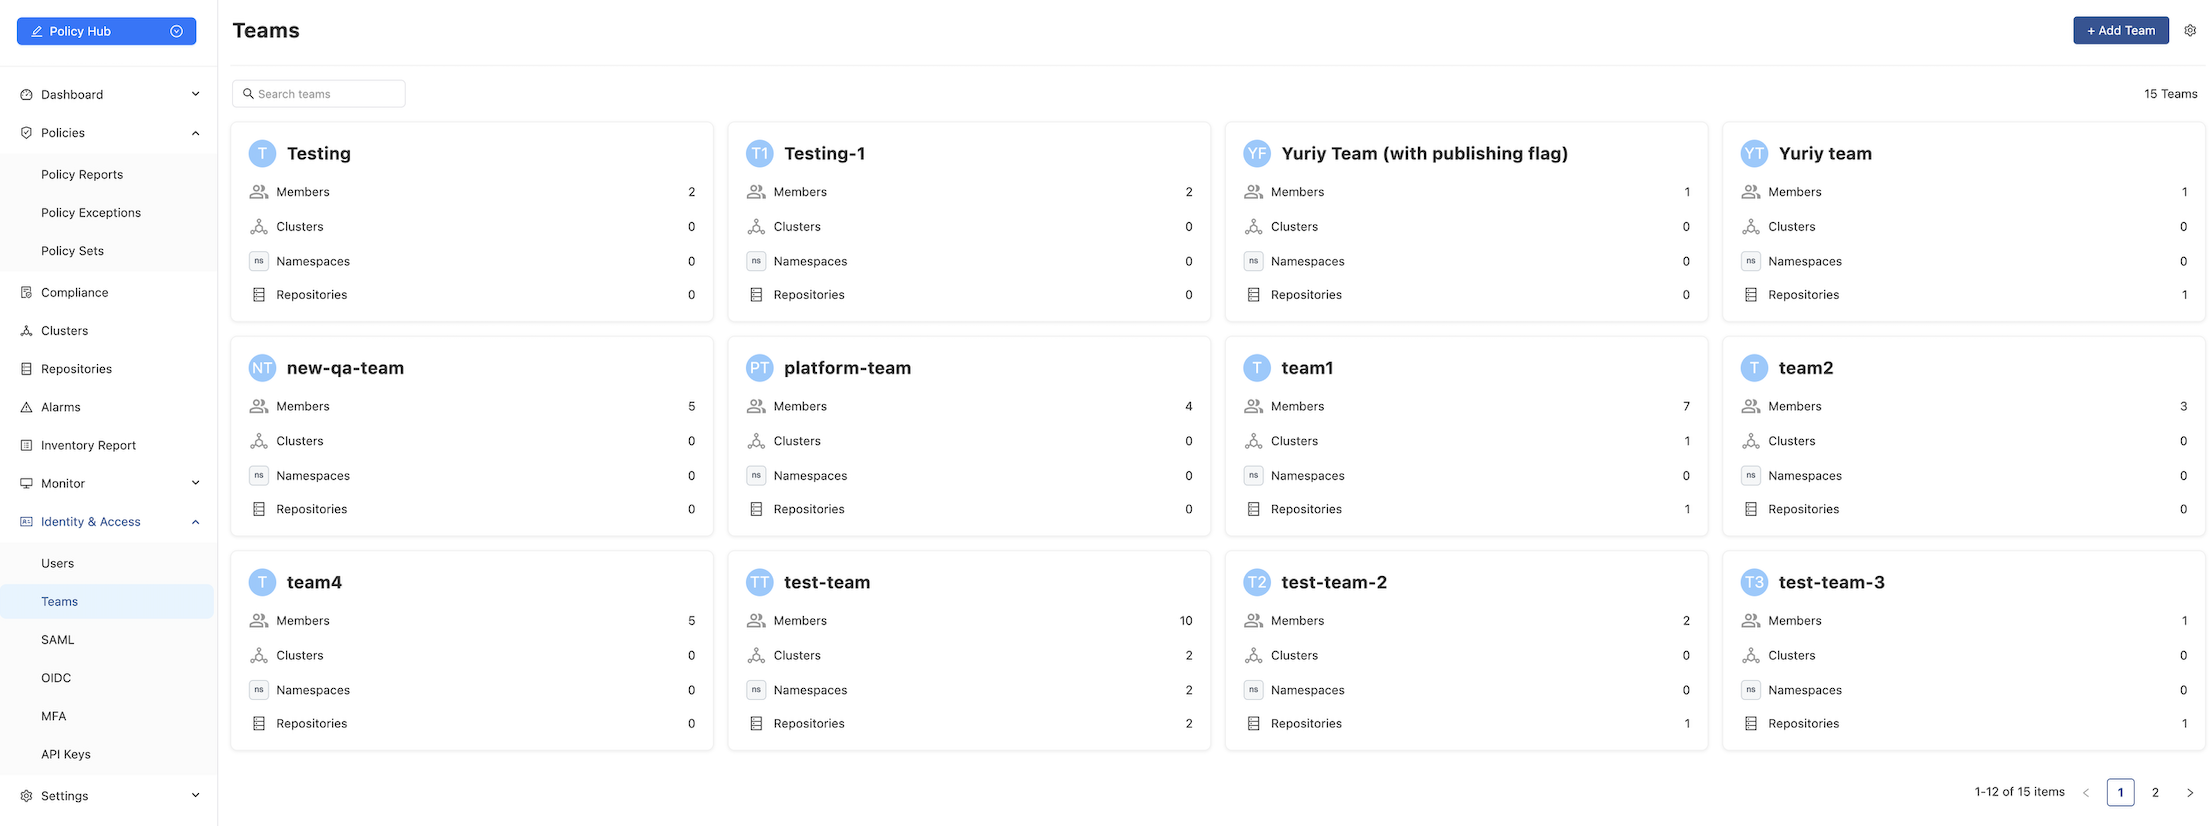
Teams
In Nirmata, users can be organized into teams. A team is a logical entity that allows you to manage permissions for a group of users who require shared access to organizational resources. Each team can include multiple users, each with specific roles and permissions.
Adding a Team
To create a new team:
- Navigate to Identity & Access > Teams.
- Click the Add Team button. The Add a New Team page will appear.
- In the Name field, enter the team’s name.
- In the Description field, provide a brief description of the team.
- To add users:
- In the Users section, click the Add Users button.
- In the search field, enter the user’s name and select the checkbox next to it.
- To assign namespace access:
- Click the Add Access Control button.
- In the search field, enter the desired namespaces and select the corresponding checkboxes.
- Click Create to finalize the team.
Editing or Deleting a Team
To edit a team:
- Navigate to Identity & Access > Teams.
- Click on the card for the team you wish to modify.
- Edit the Description field as needed.
To add members:
- Click the + Add Members button.
- In the search field, enter the member’s name, select the checkbox, and click Save.
- Alternatively, select members from the list and click Save.
To delete a team:
- Click the three dots icon in the upper-right corner of the screen and select Delete Team.
Confirm the action in the popup window.
Email Notifications
To enable email notifications for a team:
- Click the team name.
- Click the gear icon, then select Enable Email Notification.
Scheduling Email Notifications
To configure the scheduling email notification for sharing policy reports with teams via email:
- From the main Teams page, click the gear icon in the top-right corner.
- Enable the Email Notifications toggle.
- Choose the frequency: Hourly, Daily, Weekly, or Monthly.
- Set the preferred time for the email to be sent.
- Click Save.
Other Configuration
The Teams configuration page allows you to enable additional settings:
Enable Auto Namespace Access
This setting allows teams to automatically gain access to newly created namespaces.- From the main Teams page, click the gear icon.
- Select the Enable Auto Namespace Access option.
Enable Repository Publishing for All NPM Teams
This setting allows DevOps users in all teams to scan repositories and publish them to NPM. A uniquerepo-publish-team-keyis generated for each team.- From the main Teams page, click the gear icon.
- Select the Enable Repository Publishing for All NPM Teams option.